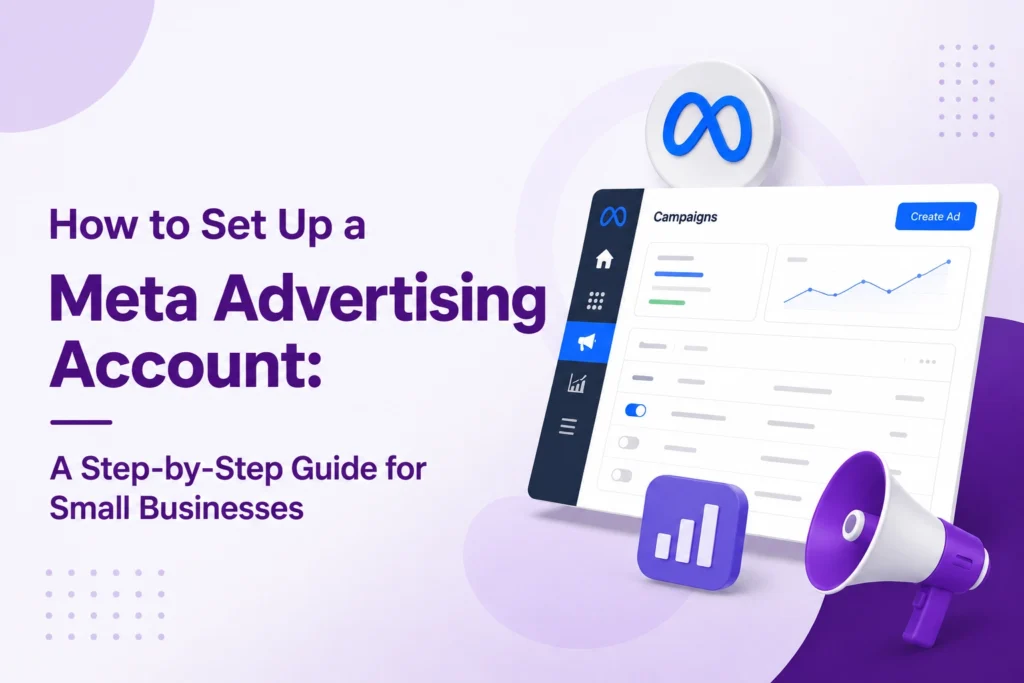
Facebook and Instagram remain two of the most effective places for small businesses to reach new customers — but before a single ad goes live, there’s a foundation that has to be built correctly. Skip a step, and you end up with wasted budget, broken tracking, or an account that’s harder to fix than it would have been to set up right the first time. At VoilaWex India, this is one of the most common setups we walk small businesses through, so here’s the process broken down clearly, step by step.
Step 1: Create Your Business Account
Head to business.facebook.com and click Create Account. You’ll need to log in with a personal Facebook profile (this is still required, even for a purely business setup), then enter your business name, your name, and a business email address. Verify the email if prompted. This creates what Meta now calls a Business Portfolio — the umbrella that holds all your pages, ad accounts, and assets in one place.
Step 2: Open Business Settings
Once your account exists, head into Meta Business Suite and open Business Settings. This is command central — it’s where you’ll manage pages, ad accounts, team access, billing, and tracking tools going forward. Get comfortable here; you’ll return to it often.
Step 3: Add Your Facebook Page
Under Accounts, add your business’s existing Facebook Page, or create a new one if you’re starting from scratch. If Instagram is part of your plan too — and for most small businesses, it should be — link your Instagram account in this same section so both platforms run through the same portfolio.
Step 4: Create the Ad Account
Go to Accounts → Ad Accounts → Add → Create a New Ad Account. This step deserves extra care: choose your ad account name, time zone, and currency carefully, because these settings are locked in once set and are difficult or impossible to change afterward. Rushing this step is one of the most common setup mistakes we see.
Step 5: Add a Payment Method
Navigate to Billing and add a valid credit or debit card. Without this, campaigns simply won’t launch — Meta requires an active payment method before any ad spend can go out.
Step 6: Set Team Permissions
If you’re working with an agency (like VoilaWex India) or have internal team members managing ads, add them under Business Settings → People, and assign the appropriate access levels. Getting this right early keeps ownership clean and reduces the risk of accidental changes to campaigns, billing, or assets down the line.
Step 7: Install Tracking
In Events Manager, set up the Meta Pixel and install it on your website — ideally through Google Tag Manager or a direct platform integration for a cleaner setup. Where possible, also configure the Conversions API alongside the Pixel. Running both together significantly improves tracking reliability, especially as browser privacy restrictions continue to affect how much pixel data gets through on its own.
Step 8: Verify Your Domain and Configure Events
Verify your website domain in Business Settings, then configure Aggregated Event Measurement and set your priority events — whether that’s leads, purchases, or another conversion action that matters to your business. This step directly affects how well Meta can optimize your campaigns toward the outcomes you actually care about.
Step 9: Launch Your First Campaign
In Ads Manager, choose a single clear objective, build your target audience, set your budget and placements, then upload your creative and publish. For a small business just getting started, resist the urge to test everything at once — pick one goal, whether that’s leads, messages, or website conversions, and build around it.
Step 10: Monitor and Improve
Once your campaign is live, track the metrics that matter: click-through rate, cost per click, leads generated, and cost per result. Use that data to make targeted adjustments — refining your audience, swapping creative, or tweaking budget — rather than overhauling everything at once. Small, measured changes make it far easier to tell what’s actually working.
Best Practices for Small Companies
A few principles worth keeping in mind throughout: keep one business portfolio organized around a single brand, focus on one clear campaign goal at a time, confirm your website and Pixel are functioning correctly before committing real budget, and start modestly — scale up only once the performance data supports it.
Setting up a Meta advertising account properly takes a bit of patience, but it pays off in cleaner data, fewer restrictions, and campaigns that are easier to optimize from day one. At VoilaWex India, we help small businesses get this foundation right the first time, so your ad spend goes toward growth instead of getting lost in a poorly configured setup.